Creating a Color Outline Font
A long-standing problem on the web is that there is no standardized way to outline text. And with some text, you really want it outlined!
The way we define how text looks on the web is via so called “CSS properties.” Because the World Wide Web Consortium (W3C) have never introduced a dedicated text-stroke CSS property, developers have been forced to find various dodgy work-arounds. There is the experimental -webkit-text-stroke CSS property, but this only works in WebKit browsers. Then there is the “text shadow hack,” which involves misusing the CSS text-shadow property to form a solid outline around text. But neither of these are perfect nor elegant solutions.
Outline Fonts of the Non-Digital Past
In the past, it was not uncommon for type foundries to produce outlined versions of their fonts for use in display settings. During the 70s especially, there were tonnes of outline fonts gracing the many phototypesetting catalogues being produced. The practice of developing outline fonts became far less common during the digital era as users could simply outline text in graphics software, making the requirement for a separate outline style redundant. That being said… it’s 2020 and we still can’t outline type on the web! What’s going on?!
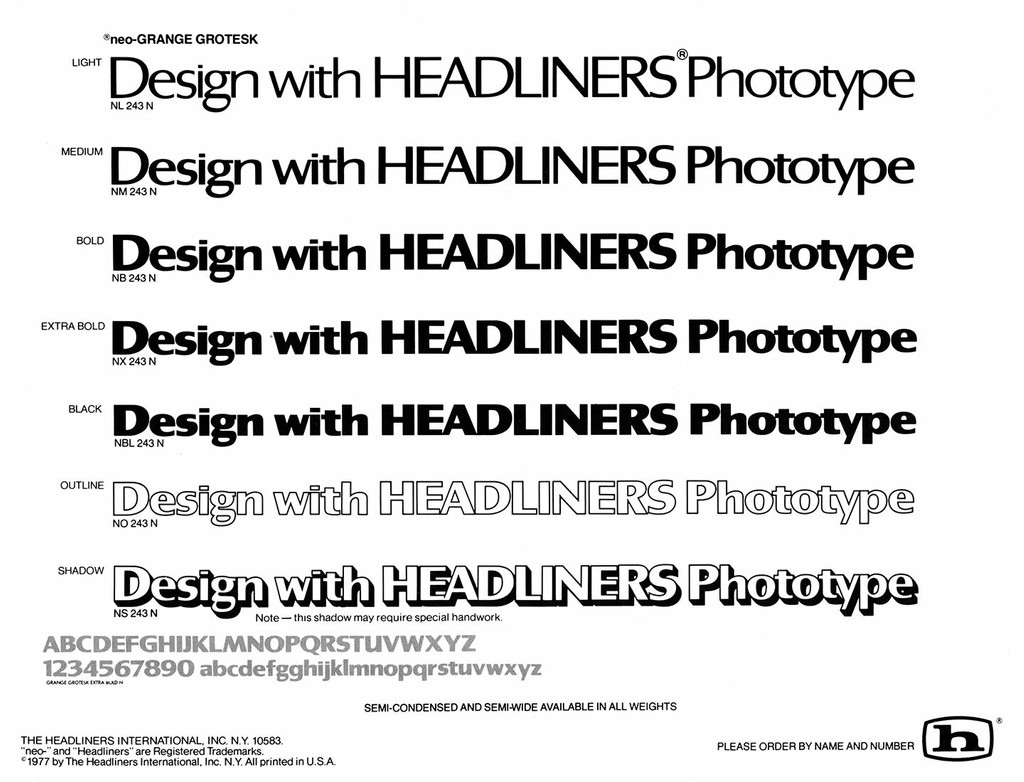
Headlines distributed an Outline version of their typeface Grange in the 70s.
Our Solution
We hadn’t worked on any color fonts until recently, when we were approached by Enno Pötschke of bus.group, who was working with our typeface ABC Diatype for the rebrand of Ernst, a fine-dining restaurant in Berlin. They were having trouble creating attractive outlined-text for the Ernst website, and were using the “text shadow hack” with little success. The text looked clunky and glitchy, hardly appropriate for a restaurant of Ernst’s calibre. Our solution was to create a custom outlined color version of ABC Diatype, which dramatically improved the aesthetic of the outlines.
In the following tutorial, we’ll demonstrate what we did, and how to create a simple color outline font from an existing typeface. We’ll use Glyphs and utilise the Microsoft COLR and W3C SVG color font formats.

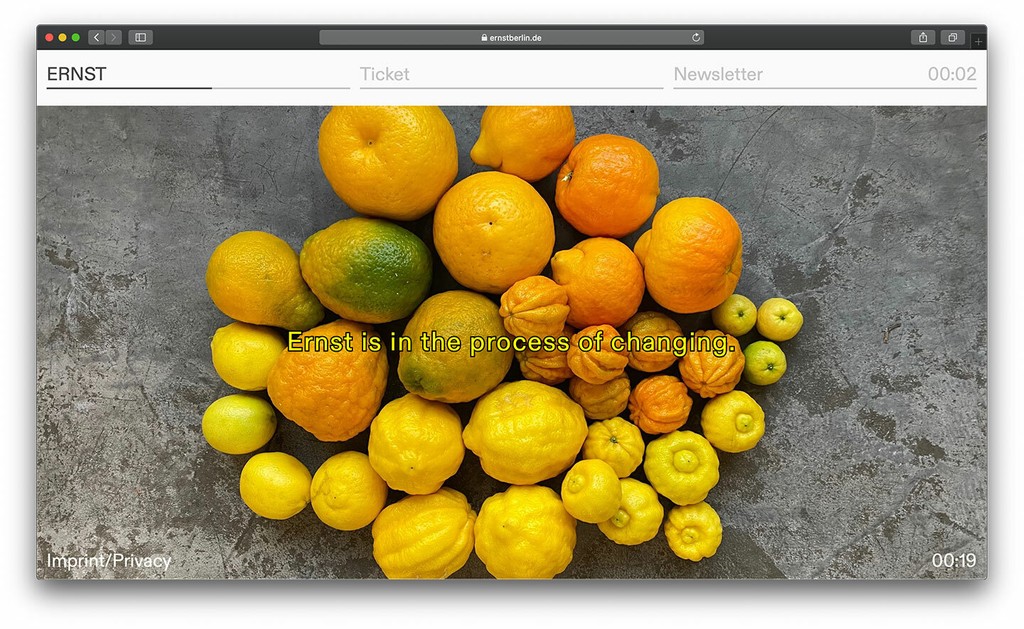
The custom fonts in use at ernstberline.de
Color Fonts and their Limitations?
At the time of writing this article, only COLR color fonts are supported by all the major browsers. On the software-end SVG color fonts are widely supported, so this means you should probably export your web fonts (WOFF) as COLR fonts and your desktop fonts (OTF, TTF) as SVG ones. Glyphs can handle this conversion for you, so it’s not too much of a hassle.
Another caveat is that color fonts look pixelated in Google Chrome at any font-size above 128px. There is no way around this, so it makes sense to consider this before using color fonts in a client project. Luckily for us, bus.group were using Diatype at around 26px only, so this was not a problem for us.
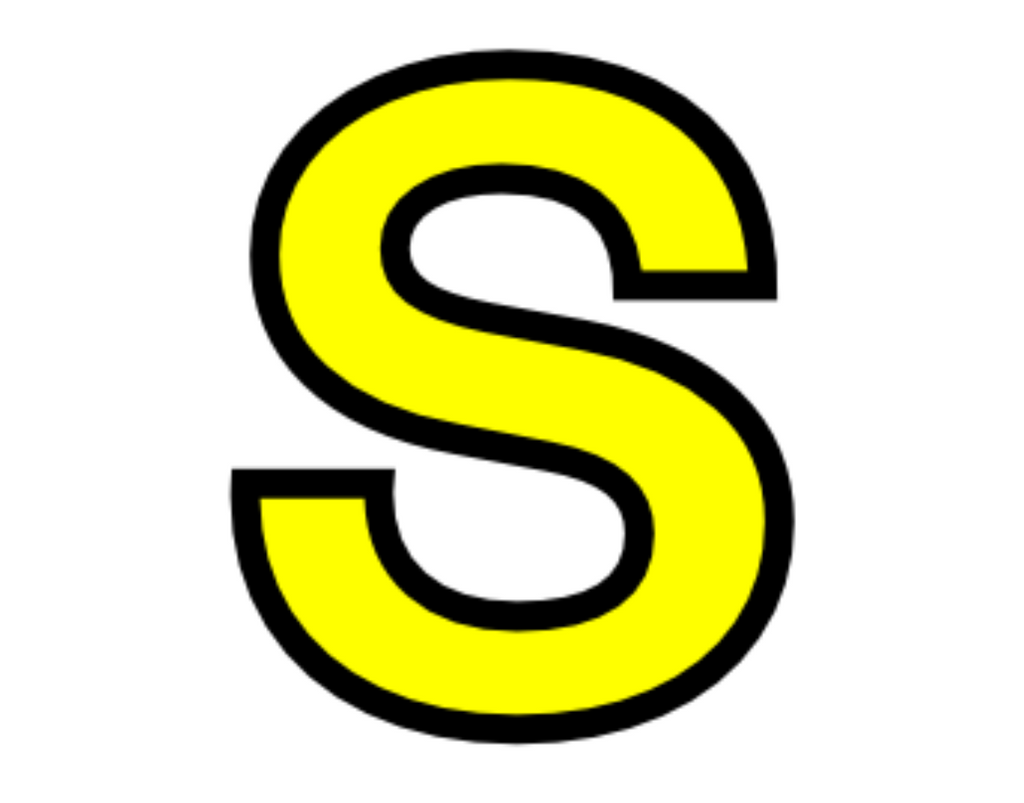
Pixelated type in Google Chrome
1. Define the Color Palette
Before we can begin outlining, we need to define the colors of our font. Glyphs calls these “Color Palettes” and you add them as a Custom Parameter to the masters in your file. Add two colors and take note of the number corresponding to each: In our case, yellow is color #0 and black is color #1 (programmers love to start counting from 0).
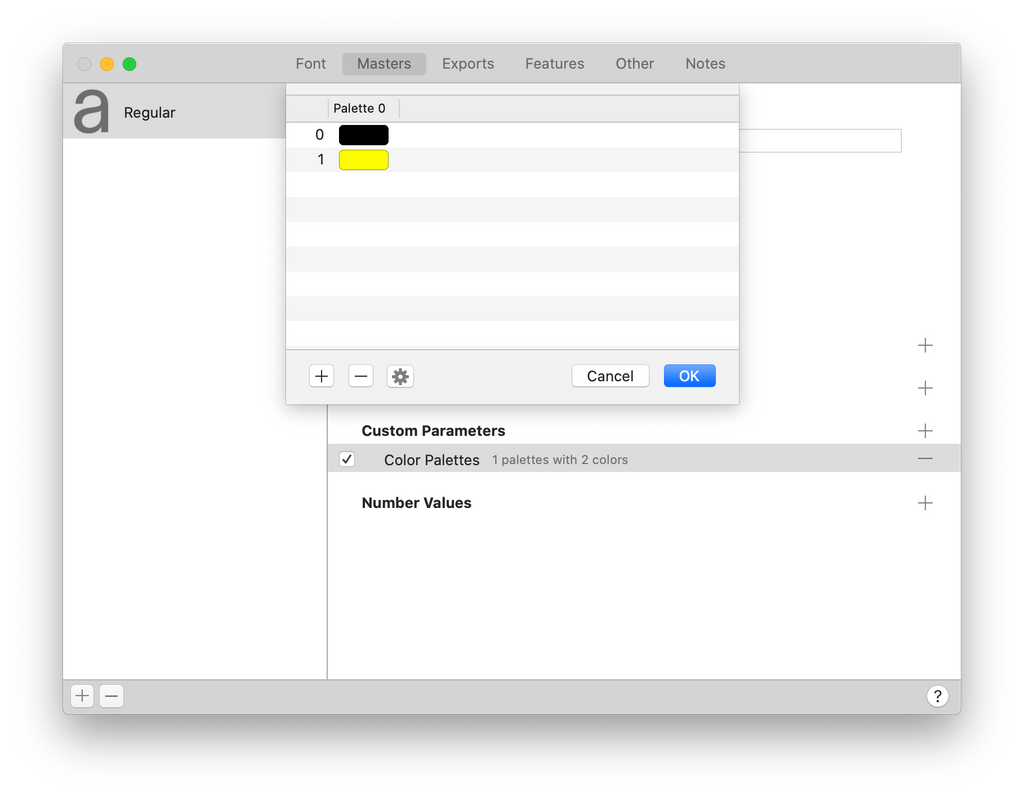
2. Create the Color Layers
To create the color layers of our outline font, you could manually produce each layer… or you could simply use a script and save hours of unnecessary labour. Below is the simple script we wrote to automate this process.
The script uses the same “Offset Curve” filter you can access in the Glyphs Filters menu, so you can first test your parameters manually with that before using the script.
To use the script: Copy and paste it into the Glyphs Macro Window, edit the variables, select the glyphs you’d like to outline, and hit “Run.”
# Edit these variables
outlineThickness = 45 # The thickness of the outline
baseColorIndex = 0 # The color index of the base layer
outlineColorIndex = 1 # The color index of the outline layer

# Below is where the magic happens...
GlyphsFilterOffsetCurve = NSClassFromString("GlyphsFilterOffsetCurve")

def copyLayer(layer, name):
        nLayer = layer.copy()
        nLayer.name = name
        layer.parent.layers.append(nLayer)
        return nLayer

for layer in Font.selectedLayers:
    # Create the color layers
    baseLayer = copyLayer(layer, "Color %s" % baseColorIndex)
    outlineLayer = copyLayer(layer, "Color %s" % outlineColorIndex)

    # Turn the layers into Color Palette layers
    baseLayer.setColorPaletteLayer_(True)
    outlineLayer.setColorPaletteLayer_(True)

    # Set the color of each layer
    baseLayer.attributes["colorPalette"] = baseColorIndex
    outlineLayer.attributes["colorPalette"] = outlineColorIndex

    # Offset the fallback layer the same amount of the outline layer
    # (WebKit clips color layers based on the width/height of the fallback layer)
    GlyphsFilterOffsetCurve.offsetLayer_offsetX_offsetY_makeStroke_autoStroke_position_metrics_error_shadow_capStyleStart_capStyleEnd_keepCompatibleOutlines_(layer, outlineThickness, outlineThickness, False, False, 0.5, None, None, None,  0, 0, False)

    # Offset the outline layer
    GlyphsFilterOffsetCurve.offsetLayer_offsetX_offsetY_makeStroke_autoStroke_position_metrics_error_shadow_capStyleStart_capStyleEnd_keepCompatibleOutlines_(outlineLayer, outlineThickness, outlineThickness, False, False, 0.5, None, None, None, 0, 0, False)
The script creates 2 color layers: A base layer and an outline layer. The outline layer’s path is offset outwards, so when the base layer is placed on-top it creates the desired result.
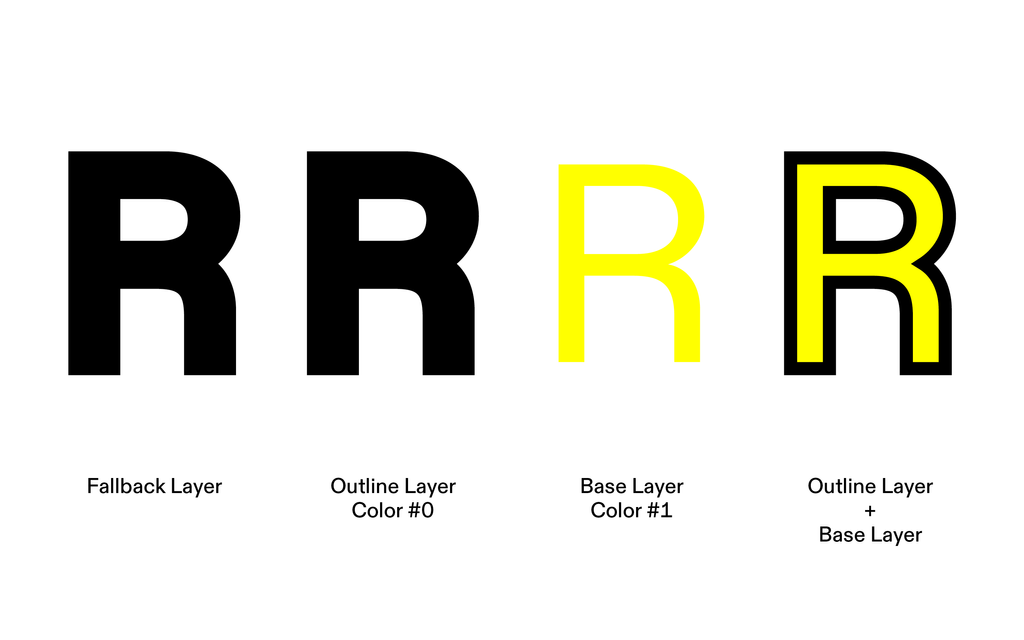
If everything went to plan, the selected glyphs should have two new layers—one for each color.
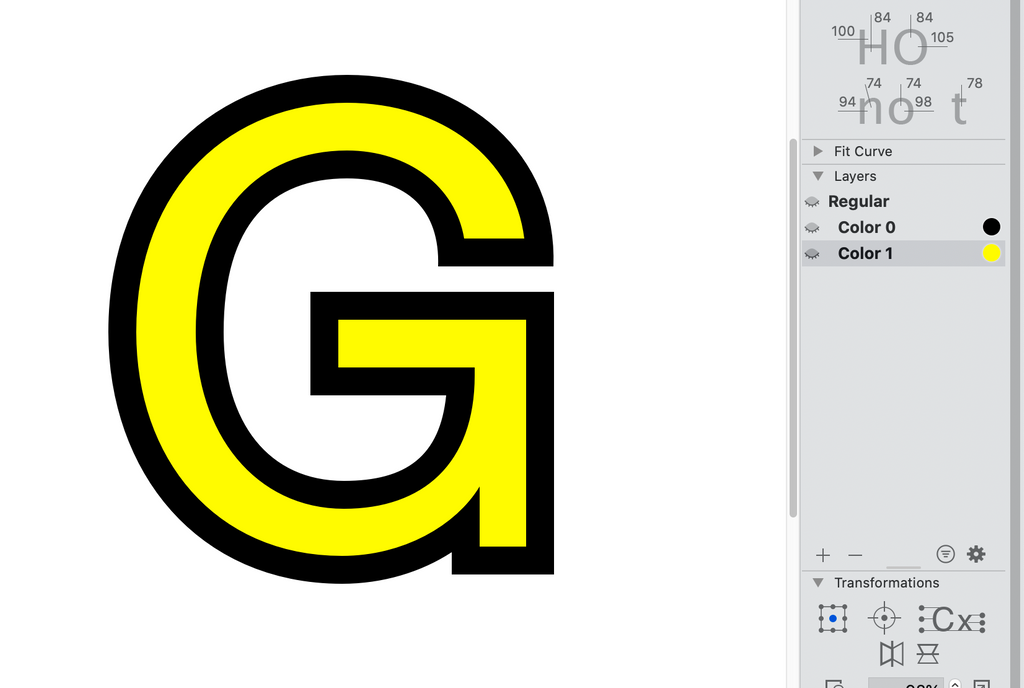
The default or “main” layer is used as the fallback layer for software that doesn’t yet support Color Fonts. However, WebKit based browsers (Google Chrome) currently clip color layers that exceed the width or height of the fallback layer. Unfortunately for now we have to offset the fallback layer the same amount as the outline layer. The script does this for you.
3. Cleanup outlines
Glyph’s offset curve filter doesn’t always produce perfect results, so you’ll have to check every glyph for undesirable issues, and correct them manually.
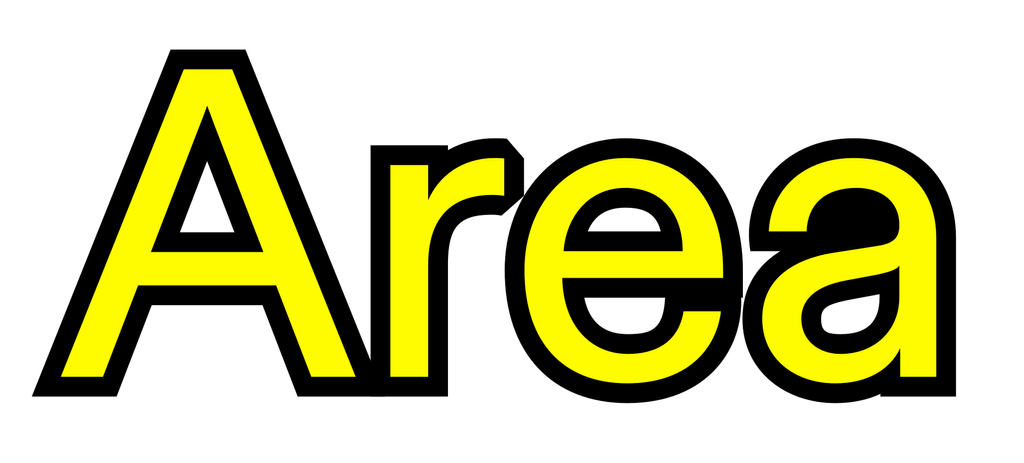
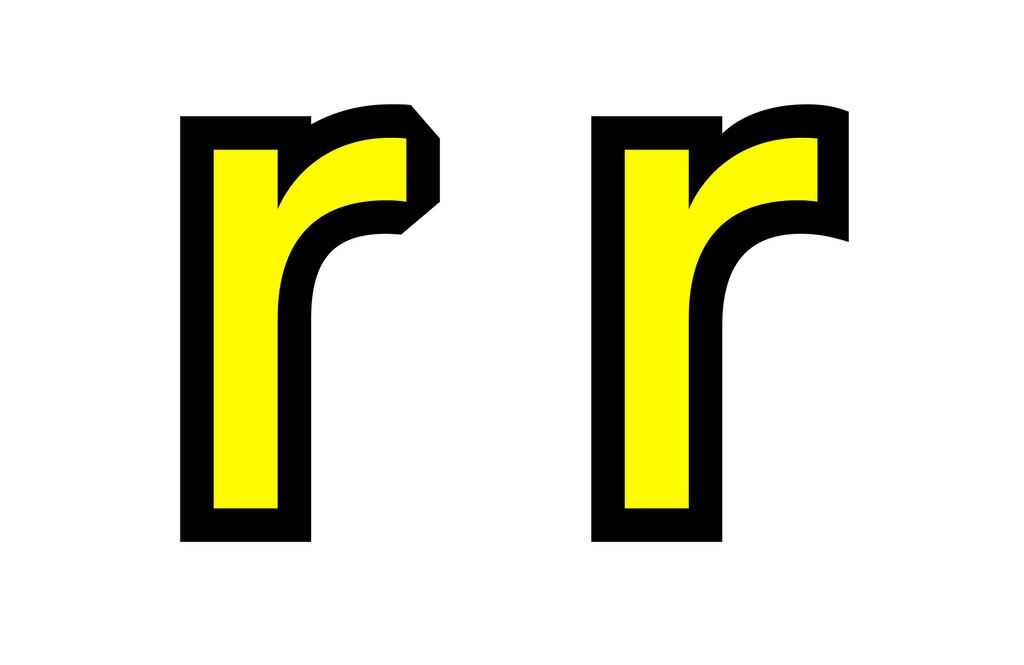
Before and after cleaning up our r
4. Export
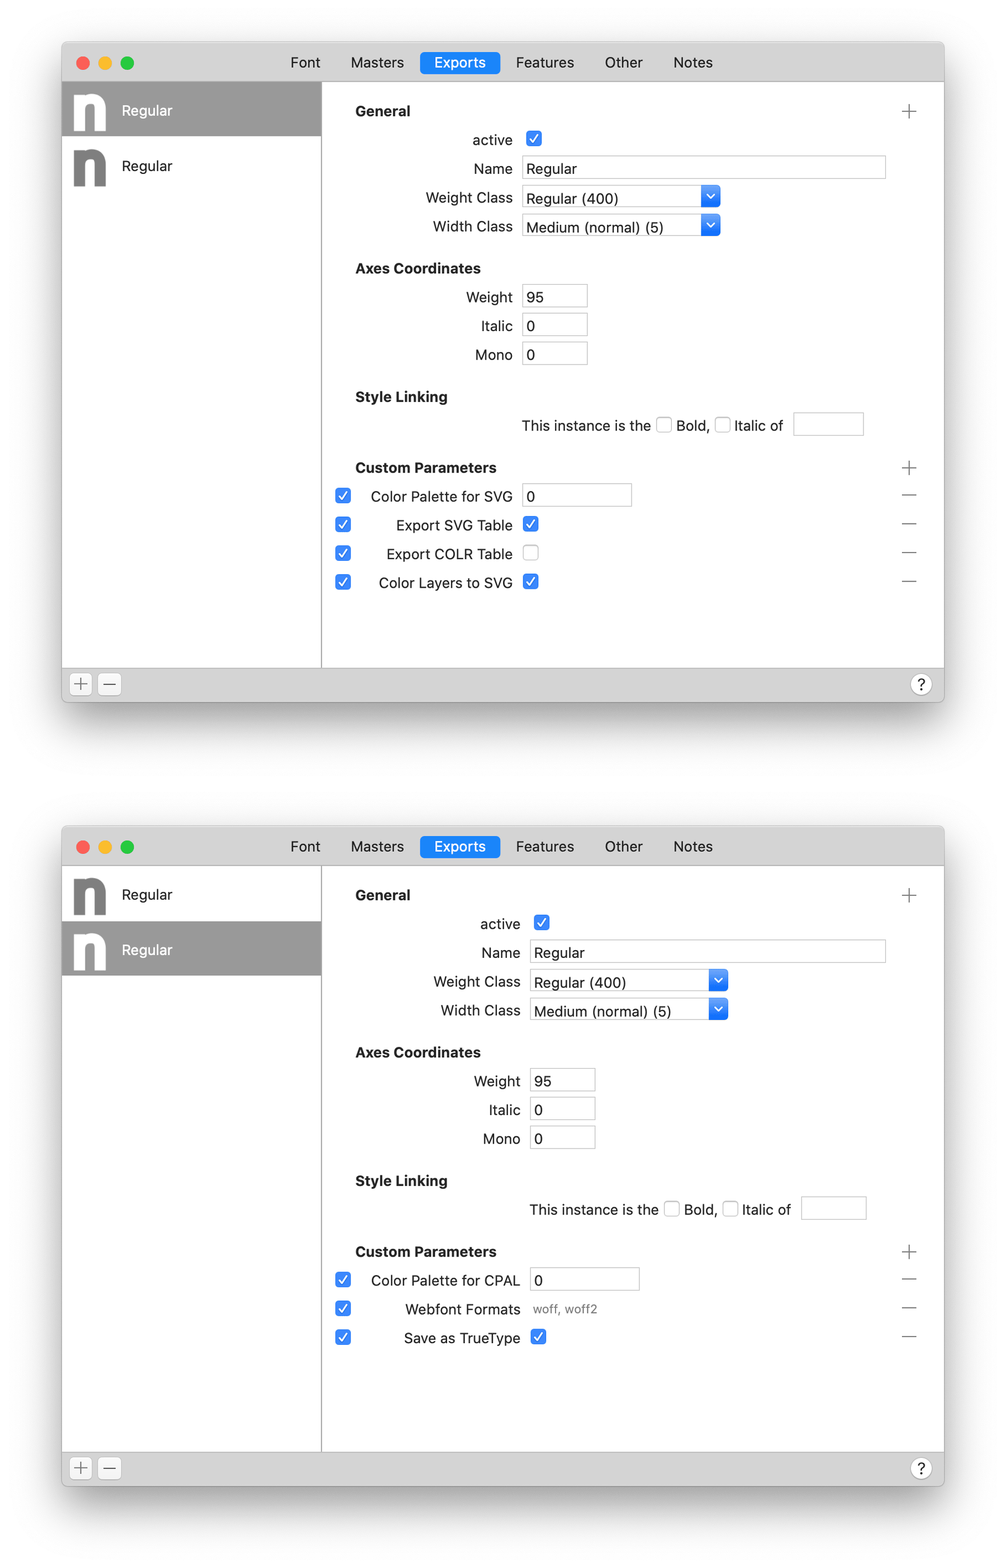
To export the font, we need to create two separate instances for our webfont and desktop files: one for our SVG OTF font and another for the CLOR WOFF font. We need to add a few Custom Parameters to each instance to make this happen.
SVG OTF
| Custom Parameter | Value |
|---|---|
| Color Palette for SVG | 0 |
| Export SVG Table | ✅ |
| Export COLR Table | ❌ |
| Color Layers to SVG | ✅ |
CLOR WOFF
| Custom Parameter | Value |
|---|---|
| Color Palette for CPAL | 0 |
| Webfont Formats | WOFF, WOFF2 |
| Save as TrueType | ✅ |
The final fonts can be installed and used like any regular fonts.
Further reading
For a more advanced overview on creating color fonts in Glyphs, take a look at the articles over on its official site. These cover many other color font topics and go into more detail about each format.
Additionally the website https://colorfonts.wtf provides lots of useful information about each color font technology and their support in various browsers and software.
